I know a lot of weeks have gone by since my last post and a lot has occurred, but the Dog Days of August have dragged on into September and I have been busy with projects and extremely lazy about my blog.
Of course I was back to working on the motorhome, now concentrating on replacing the awning fabric. There were directions that came with the fabric and I checked out many places on-line for more information. In addition, I watched a dozen You Tube videos on replacing awning fabric, but never got the information I needed. All the videos I found were about replacing awnings that were all fabric, but mine has a roll of aluminum at the top that protects the awning from the sun. I was afraid that without the connection to the motorhome the aluminum would flatten out and then bend. There is a 2 inch section of the fabric that goes from the aluminum to the groove on the wall of the RV. I cut the fabric close to the outward edge of the aluminum. Then I made a few cuts in the fabric connecting to the wall. I rolled the aluminum up and by passing bungee cords through the cuts, I was able to keep the aluminum cover firm. Then, it was easy to slide the cover off.
In the driveway, with a cushion of plastic underneath, I was able to slide the new fabric into the aluminum grooves and it was much easier than I thought it would be. Next, I rolled up the loose awning and folded it in the aluminum cover, holding it together with more bungee cords. Getting it back on the motorhome was a bit tricky and I got that done by setting up a tripod with a loop of rope exactly in line and at the right height to match the groove. I passed the assembly through the rope loop and brought the end to the groove, after I filed the end to remove any sharp piece. As the assembly slid on, I removed the bungees and in just a few minutes the top of the awning was installed.
Next I had to attach the bottom roller and that was also a snap. Getting the awning on and off is really a lot easier than one would believe. Feeling that this was a snap, I was set up for everything to hit the fan. This is my second motorhome with an A & E Awning. On my Safari, the awning worked flawlessly for the whole time we had it. This one was a little different from day one. Those who have used such an awning know that to extend the awning, you reach up with the awning tool and move “the lever” out and reaching up with the tool, you catch the lowering strap and pull, and the awning unfolds. This one worked the same way. Then, when you want to retract the awning, you push “the lever” to the rear and hold the strap as the awning rolls back. Except that on this one, it required a LOT of effort to get the lever to move back, forcing me to tap it back with a hammer. So, when I got it all back together and rewound the springs the correct number of turns, the lever wouldn’t budge. A few taps with the hammer and it was broken. I contacted A & E and found that this is a very common problem and A & E used to sell a set of replacement gears for just such a repair. They don’t sell just the gears anymore, but they DO sell the entire end assembly, shaft, spring, end cap, lever , and gears. They quoted me $58.00 plus $25.00 shipping and handling, but told me that they had several dealers in my area and I should be able to get one locally. Gist RV did have such an item and it cost me $67.00 or so, taxes included. It took only a few minutes to attach the cap with pop rivets and wind the spring. Now it works great, and the new color is a better match to our paint job. It’s actually more brown than it looks in this picture.

Today, I finished covering the pool. Why so early? Well, because the dogs will not be using the pool again before we travel. Coco had a problem in early August with a hematoma of her ear. You can check August 3, 2012 on http://jodiecoco.blogspot.com/

She had the collar on for three weeks and for those weeks she couldn’t go in the water, so we really couldn’t let the others in either. The Vet drained the ear flap and stitched right through the ear in about a dozen places so the ear would return to normal. It didn’t take as well as expected so she went back
for try #2.

The poor girl is having a hard time with her ear. What is worse, is that the wrap above didn’t work, and she had to go back yesterday to have the surgery done again. This is where the Vet opens and cleans the ear and sews it back up.

This is the latest version and shell be like this for three weeks. NO SWIMMING!!! She is such a good natured dog and she doesn’t let it bother her too much.
Several years ago (check our blog for November-December 2009) Helen and I took a female Lab and her puppies from a shelter in north Florida where they were to be euthanized the next day. We rescued Molly, (though we called her Freckles), who was in pretty sad shape. I guess that when the dogs are going to be put down anyway, why feed them. I could not understand how this dog, who was just skin and bones, was able to provide milk for her pups. With the support of Labrador Retriever Rescue of Florida, we were able to fatten her up and take care of her pups. She had the most beautiful black and chocolate Lab pups you would ever see. Check out the pictures from 2009.
Olive and Frank, the people who adopted Molly occasionally ask us to dog sit Molly when they go away. We have an arrangement with others at LRROF that when someone dogsits, we make an appropriate donation to the rescue agency. So we have Molly with us for a couple of weeks, and she looks nothing like the waif we got three years ago.

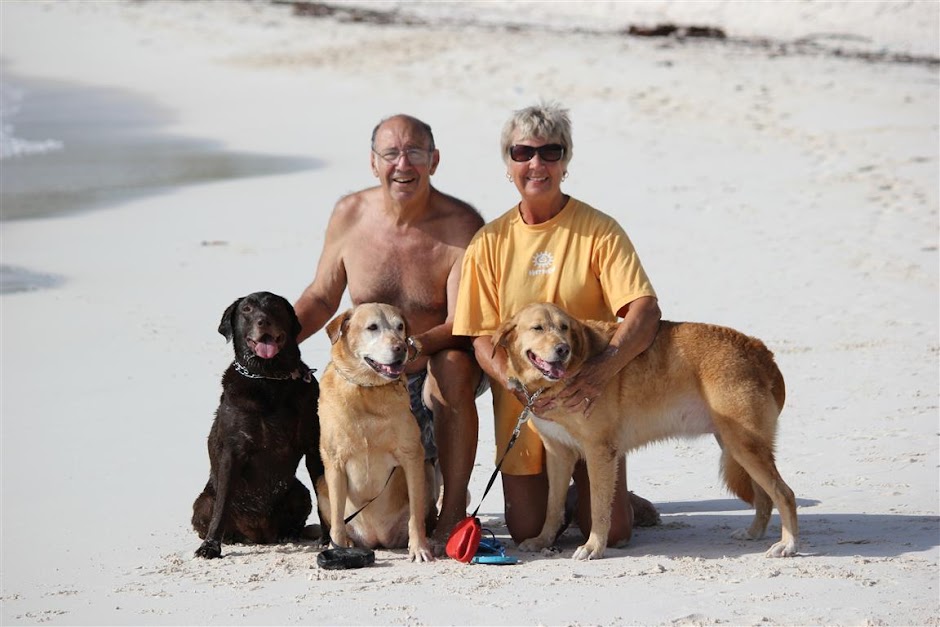
This is Molly (dark chocolate) with our Lab-Golden mix, Sandy.
Molly’s coat is so beautiful and she has so much energy!
So, I have cleared my conscience for now. Besides that, Jodie is whining at my side. She wants me to put her woofs into words on their blog. Oh well, a guy has to do what a guy has to do,or what a wife wants him to do, or what the dogs want him……………